Howdy doooody! We have been crafting up some really cute-groovy-fun stuff for you around here in Easie Peasie land!!
I’m super excited to share with you a very fun tutorial today for making your very own cutie-patoooootie
♣ St. Patrick’s Day RECYCLED Shamrock Garland ♣
To get started you will need:
♣Old magazines
♣Scissors
♣Hot glue gun / glue sticks (you could also use regular glue – I like instant results so I use hot glue!☺)
♣White paper
♣Pencil
♣Sharpie
♣Paint brushes
♣Green paint in various shades
♣Twine
♣♣♣ FYI~this is a lengthy tutorial and crafty process. We worked on this for a few days…a little at a time…until it was finished.
::::::::::::::::::::::::::::::::::::::::::::::::::::::::::::::::::::::::
R E A D Y??
Here we go!!
To begin…gather up all of your old magazines and start tearing out any pages with shades of green, golds and even browns. We used all kinds of greenies…goldies…and a few brownies with various textures from plants…food…and anything with our colors.
○○○○○○○○○○○○○○○○
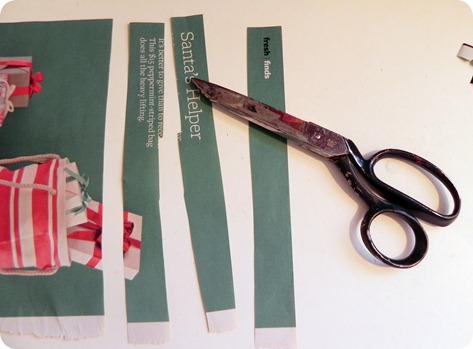
Next, cut strips of the pages….from left to right across the page.
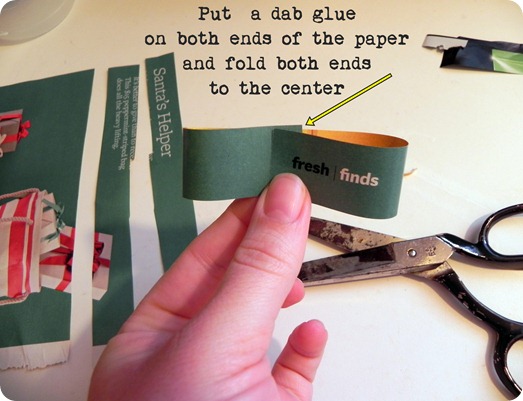
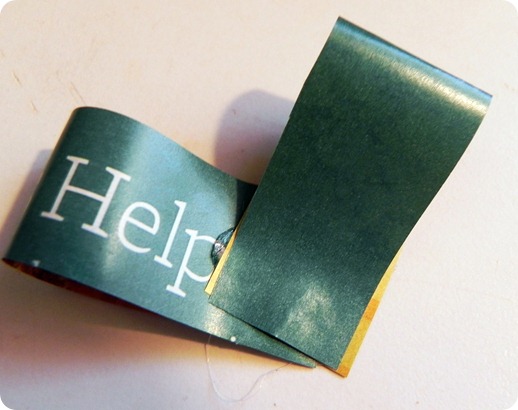
Begin making a recycled shamrock by taking one strip…and adding a dab of glue on each end…one end at a time…then pressing each end towards the center of the strip…make sense?? Here’s a pic for a visual…
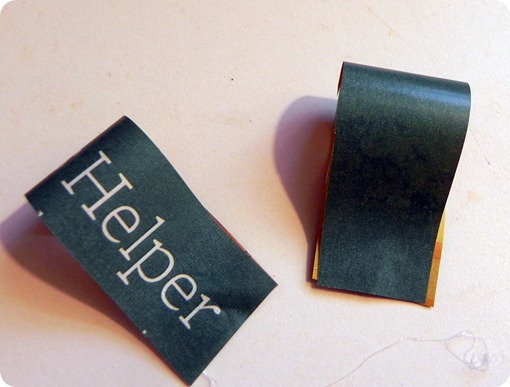
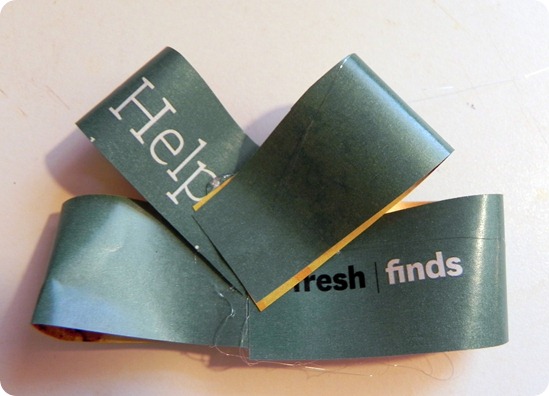
Take another strip…and cut it in half. Then glue the ends of each strip together…like this…..
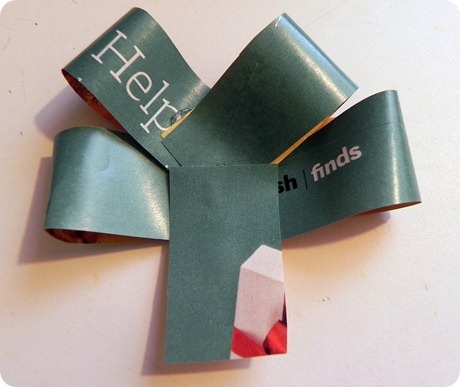
Use a dab of glue to secure both loopies together in a heart or “V” shape…like this….
Then glue your “heart” or “V” on top of your loopie….like this….
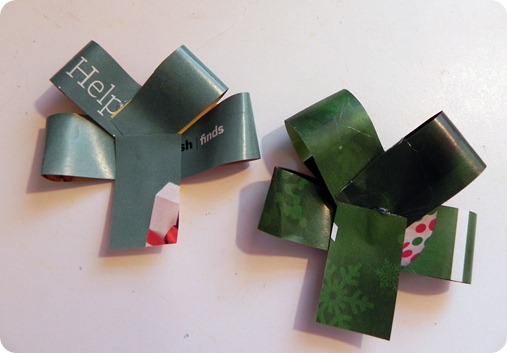
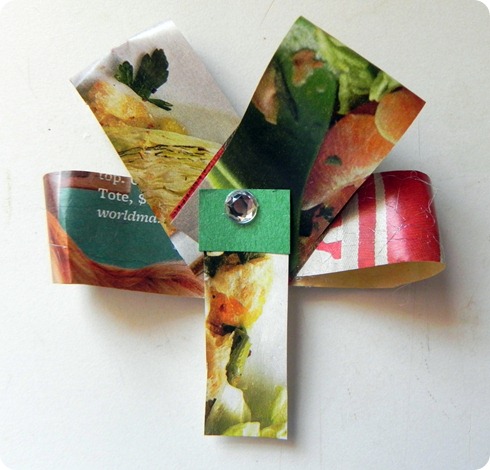
Then snip an additional piece from a magazine strip and glue it to your shamrock…to make a stem…like this….
TAAA DAAAAA….cute-arrific…recycled…magazine…shamrock…clover…thingies!! LOL!
We also added a few blingy rhinestones to give them little pizzazz. You can add all kinds of cute things to personalize them!
○○○○○○○○○○○○○○○○
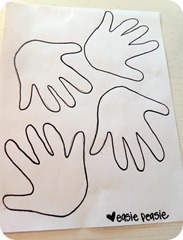
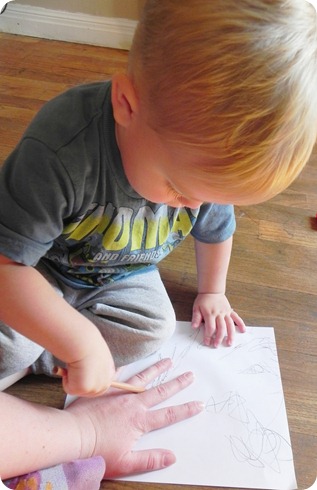
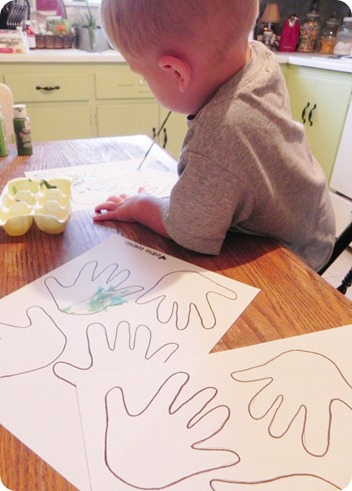
Once we finished our shamrockies…or well once I finished them LOL…Jaxon and I traced his hands. He had to trace mine too…because it’s more FUN that way!
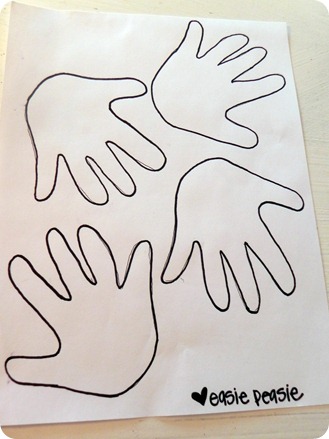
I went over the tracings with a Sharpie…like this…
And because I WAS NOT tracing hands over and over…I made three copies of this page on my printer/copier.
○○○○○○○○○○○○○○○○
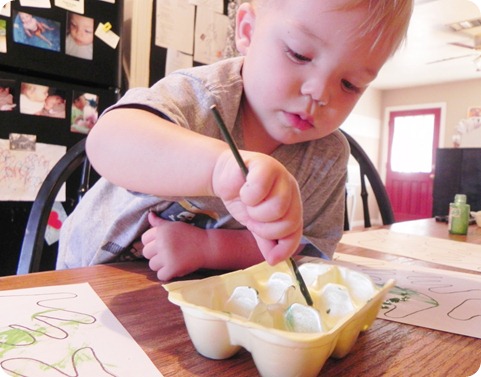
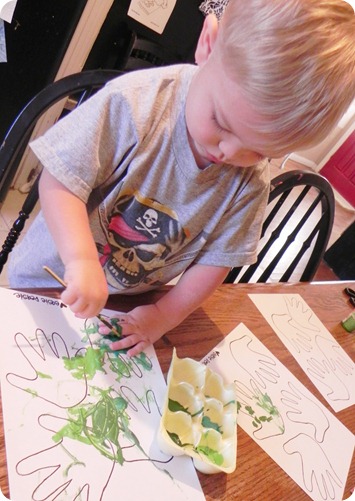
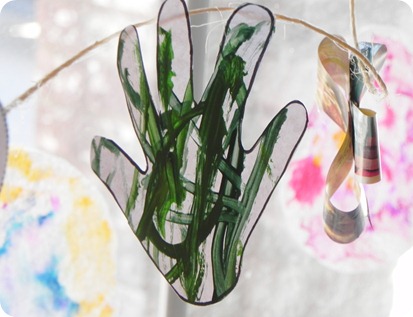
We then got our PAINTS out…and began PAINTING our hands. Grab a variety of shades of green.
We even used a metallic teal and a glittery green. PRETTY!!
Jaxon LOOOOVED the painting part of this craftie. By now you know…it’s his FAV!
He even tried to trace his hand with the paint…sweetest little guy…
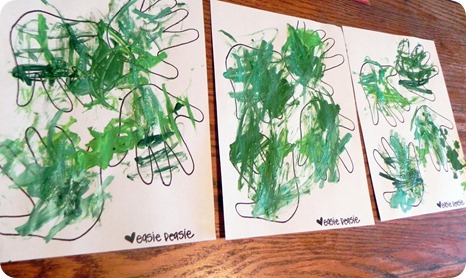
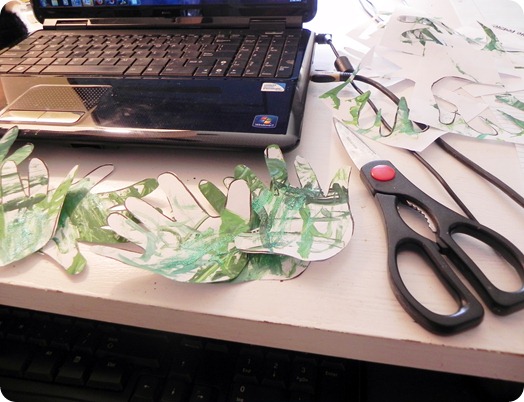
and here are the masterpieces…drying!
○○○○○○○○○○○○○○○○
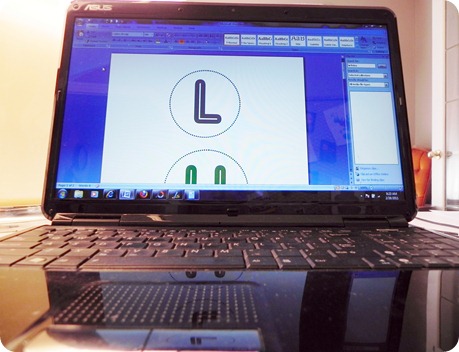
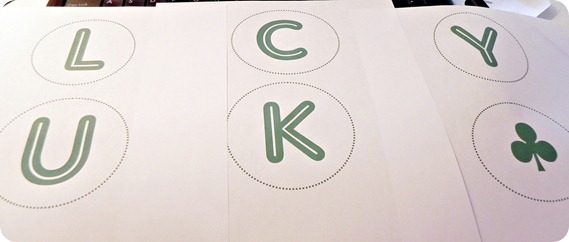
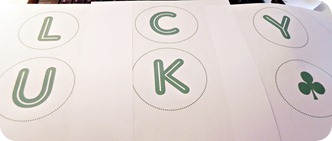
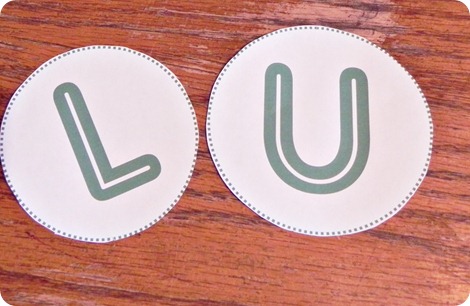
I wanted to add another element to the garland…so I made little Lucky♣ letter/circles.
Printed those out….
And started the OH SOOO slow process of cutting everything out…
I cut…and I cut…and I did my editing work…and cut some more…
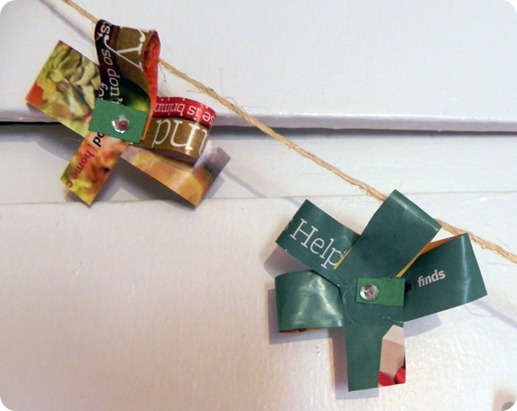
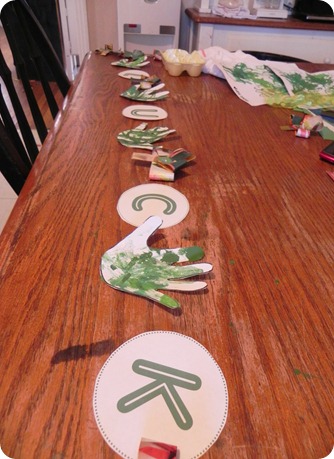
FINALLY when all the elements were ready…I hot glued them to twine and it was ready to hang.
○○○○○○○○○○○○○○○○
H O L Y C R A C K E R S………….
it was REALLY LONG! I had a pickle of a time finding a place for it!!
○○○○○○○○○○○○○○○○
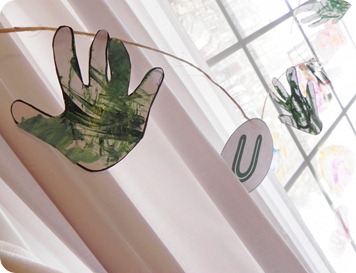
Tried it in the front window….
Not loving it…I wanted to be able to REALLY SEE all the cute little elements….
I couldn’t even read the Lucky♣ part…
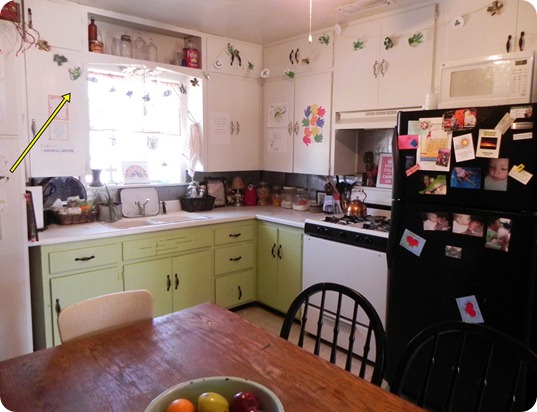
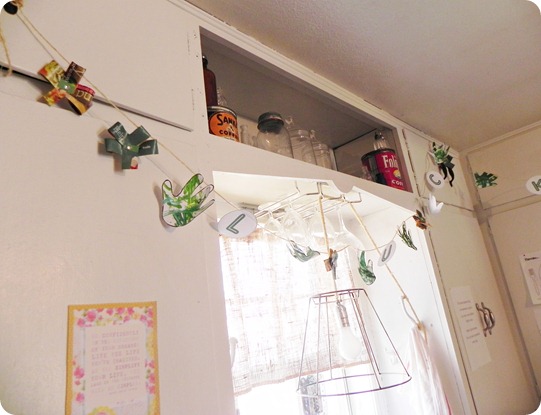
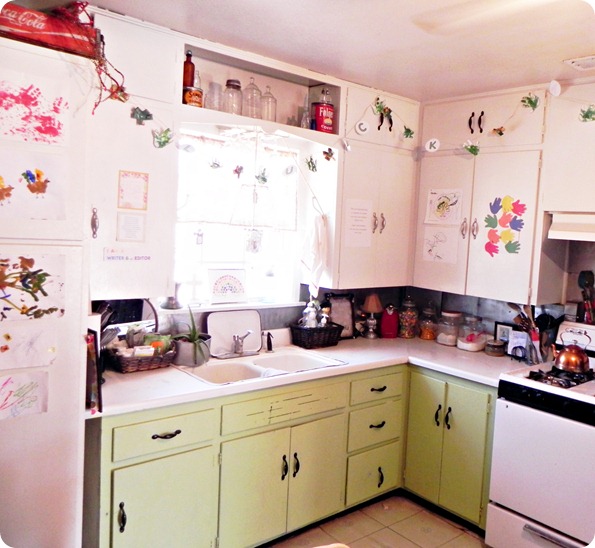
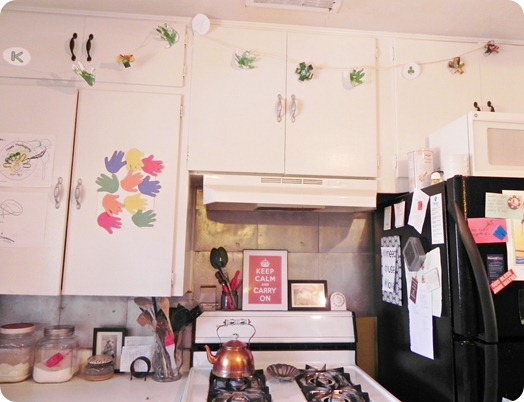
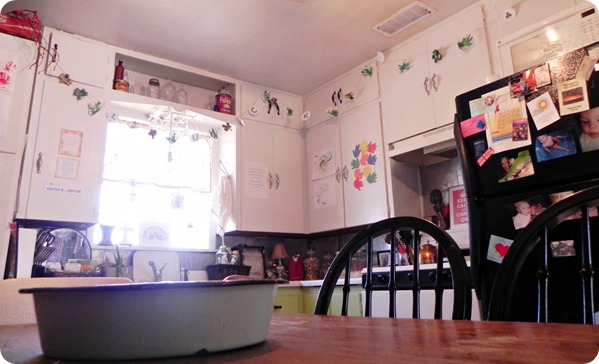
Soooooooooo….I strung it across my kitchen cabinets…YIPEEEEEEE….and I LOVE IT!
It’s a VERY CHEERY little element for our kitchen…made with LOT’S of LOVE!
I still can’t read the Lucky♣ part perfectly…but that’s okay…I still LOVE it MUCHOS!
It was kind of WONKY to photograph. The darn ceiling fan pull-thing was in the way a lot…and the whole angle is just WONKY! Sorry!!
○○○○○○○○○○○○○○○○
I hope you try one with your munchkin. It’s SUPER fun. We had a great time…and I love that it’s recycled fabulous too. Maybe try placing the little doo-dahs closer together and yours won’t be as crazy LOOOONG as mine!
○○○○○○○○○○○○○○○○
I also have a little surprise for you too!
Do you want an easy way to print out a set of handprints…or your own Lucky♣ letters? I made copies for you!
YIPEEEEE!
Click HERE for the handprints…
Click HERE for the Lucky♣ banner…
**Just a note…my circles are not even or perfect…I am OCD about stuff like that…but by that point in the project I wasn’t re-doing it! SORRY!
You can’t tell when it’s up…but side-by-side you can…
JUST FYI!!
○○○○○○○○○○○○○○○○
Okay friends…enough babbling now…love you all…have a super day…and….
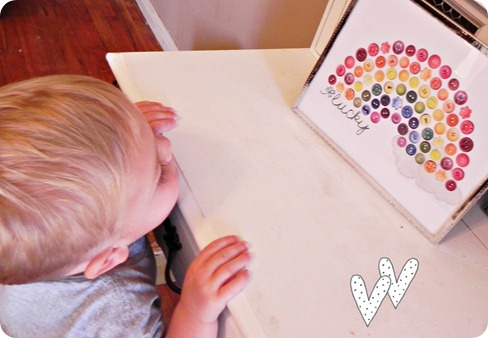
here’s a sneak peek of next week’s crafty…LOVE IT TOO!!!
Happy day!
XoXo





1 comment:
LOVE it! so special that you made it together!
Post a Comment